How to Clean Window Tracks: 5-Minute Method That Actually Works
How to clean window tracks is one of those jobs most people avoid until their windows stop sliding properly. I’ve been cleaning homes across the UK for 18 years, and grimy window tracks are in every third house I visit. The good news? You can clean even the filthiest tracks in about five minutes using items you already own.
In this guide, I’ll show you the exact method I use on client properties, plus a steam cleaning hack that cuts the time in half. This works on uPVC, aluminium, and wooden windows, whether you’re dealing with standard casement windows or sliding patio doors.
Here’s what you’ll learn: the quickest way to clean window tracks (tested on hundreds of windows), how to tackle mould without bleach, why the viral sponge method doesn’t work as well as people claim, and how to stop tracks getting filthy so quickly.
Quick Summary
Time needed: 5 minutes per window (deep clean), 2 minutes (maintenance)
Difficulty: Easy
You’ll need: White vinegar, bicarbonate of soda, old toothbrush, microfibre cloth
Key takeaway: Vacuum first, then use vinegar and bicarb to lift grime without harsh chemicals
What You'll Need
For the basic method, gather these items:
- White vinegar (about 50p from any supermarket)
- Bicarbonate of soda (under £1)
- Old toothbrush or small scrubbing brush
- Microfibre cloths (2-3)
- Vacuum cleaner with crevice attachment
- Cotton buds (for tight corners)
- Small container or spray bottle
- Washing up liquid
- Warm water
Optional extras for stubborn grime:
- Handheld steam cleaner (around £30 from B&M or Argos)
- Plastic scraper or old credit card
- Silicone lubricant spray (Asda, about £3)
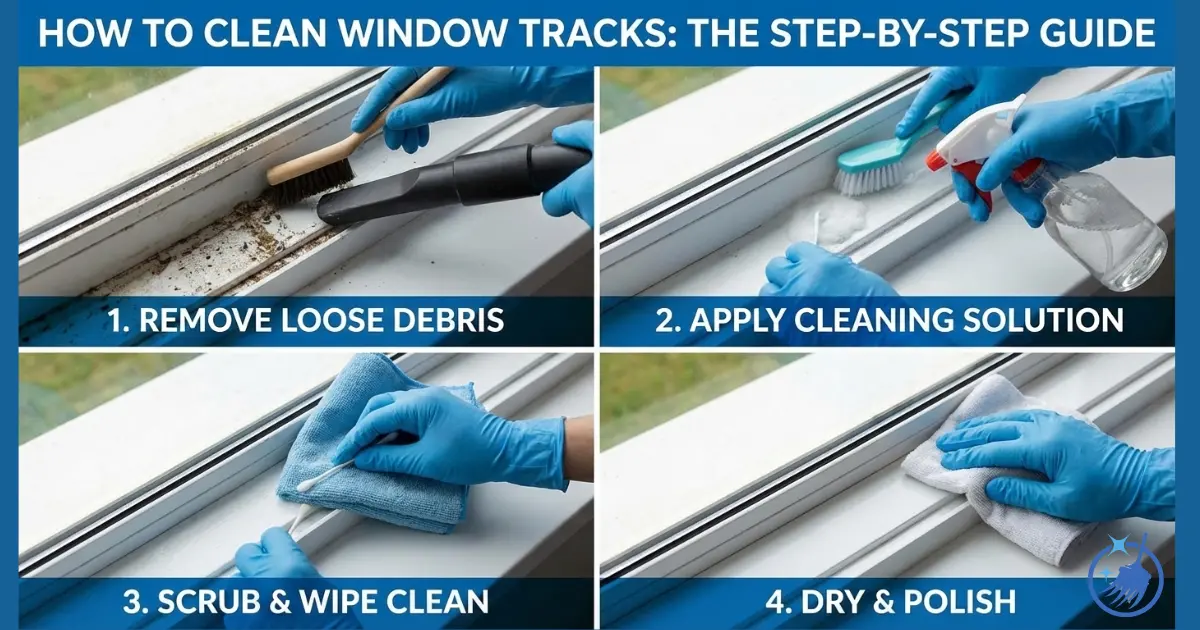
How to Clean Window Tracks – Step-by-Step
Step 1 – Vacuum the Loose Debris
Open your window fully to access the entire track. Use your vacuum’s crevice tool to remove all loose dirt, dust, dead insects, and debris. Make two or three passes, paying attention to the corners where most grime collects.
If you don’t have a vacuum, use a small dustpan and brush to sweep debris toward one end, then scoop it out. Takes a bit longer but works perfectly well.
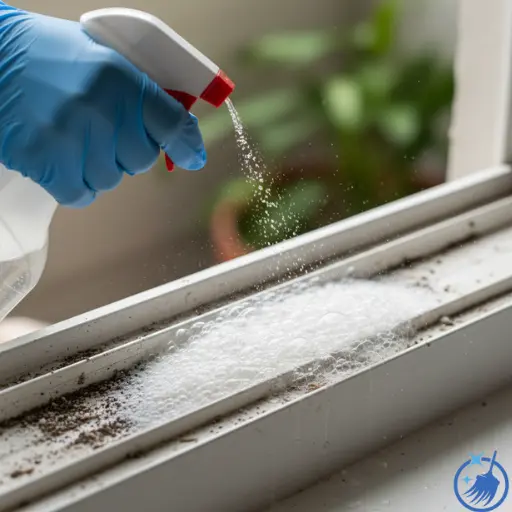
Step 2 – Apply the Cleaning Solution
Sprinkle bicarbonate of soda generously along the entire track. You want a decent coating, not just a light dusting. Then spray or pour white vinegar directly onto the bicarb. It’ll fizz up immediately, and that’s exactly what you want.
The foaming action lifts dirt from those narrow grooves that are impossible to reach otherwise. Let it fizz and work for 5-10 minutes. For really grotty tracks, I leave it for 15 minutes.
Step 3 – Scrub the Track
Use your toothbrush to scrub along the track, working the paste into all the corners and crevices. The grime should lift away easily now. For corners and tight spots, dip a cotton bud in the vinegar solution and work it around.
If you’ve got hardened paint drips or old caulk, use a plastic scraper or old credit card to gently lift them away. Never use metal scrapers on uPVC or aluminium as they’ll scratch the surface.
Step 4 – Wipe Clean and Rinse
Dampen a microfibre cloth with clean water and wipe away all the bicarb paste and loosened dirt. You’ll likely need to rinse your cloth several times. Keep wiping until no residue remains.
Pay special attention to the small drainage holes you’ll find in most uPVC window tracks. These need to stay clear or water will pool in your tracks. Use a cotton bud to ensure they’re completely clear.
Step 5 – Dry Thoroughly
Use a dry microfibre cloth to wipe the tracks completely dry. This step is crucial. Wet tracks attract dust immediately, and you’ll be back where you started within days.
Leave the window open for 20-30 minutes to air dry completely before closing.
Step 6 – Lubricate for Smooth Operation (Optional)
Once bone dry, spray a small amount of silicone lubricant along the track. Wipe away any excess with a clean cloth. You want a thin coating, not puddles.
Open and close the window a few times to distribute the lubricant evenly. Your window should glide far more smoothly now.
The Steam Cleaner Method (Faster and More Effective)
After testing dozens of cleaning methods over the years, I bought a handheld steam cleaner two years ago. It’s transformed how I clean window tracks. What used to take 10 minutes now takes 3.
Here’s the process:
Vacuum first as usual to remove loose debris. Steam works on stuck-on grime, not loose dirt.
Fill your steam cleaner with water according to instructions. Most need a few minutes to heat up.
Steam in sections of about 15-20cm at a time. Hold the nozzle close to the track and move slowly. The steam melts even stubborn grime instantly.
Wipe immediately with a microfibre cloth whilst the dirt is still warm and soft. It comes away with almost no effort.
Use the brush attachment for corners and heavily soiled areas. The combination of steam and gentle scrubbing is incredibly effective.
Why I Love Steam Cleaning
After 18 years of cleaning professionally, the steam cleaner is my favourite investment:
- No chemicals needed – just water
- Kills mould spores with heat
- Works in 3 minutes instead of 10
- Reaches impossible corners other methods miss
- Costs about £30 – pays for itself quickly
The only downside is you need to buy the machine. But I use mine for grouting, bathroom tiles, car interiors, and dozens of other jobs. Absolutely worth it if you’ve got mould-prone windows or sliding doors.
Common Mistakes to Avoid
1. Skipping the vacuum step – If you apply cleaning solution before removing loose debris, you just create muddy paste that’s harder to clean. Always vacuum first.
2. Using too much water – Soaking the tracks risks water seeping into wall cavities or damaging wooden frames. Use damp cloths, not dripping wet ones.
3. Forgetting drainage holes – Blocked weep holes cause water to pool in tracks, leading to mould and rust. Always check these are clear.
4. Closing damp windows – Wet tracks become mould factories overnight. Always dry completely before closing windows.
5. Using metal scrapers – I’ve seen hundreds of scratched uPVC tracks from people using metal paint scrapers. Stick to plastic or old credit cards.
6. Over-lubricating – More isn’t better. Excess lubricant attracts dust and creates grimy buildup within weeks. A light coating is plenty.
Cleaning uPVC Window Tracks (Most Common in UK Homes)
Most UK homes built after 1980 have uPVC windows. These are brilliant but the white tracks show dirt terribly.
Best approach: The vinegar and bicarb method works perfectly. uPVC is tough and won’t react to the mild acid in vinegar.
For yellowed tracks: Mix a paste of bicarbonate of soda and water, apply it, leave for 30 minutes, then scrub. This gentle abrasive brightens yellowed uPVC without scratching.
Avoid: Solvent-based cleaners or anything abrasive like cream cleaners. These can dull the surface over time.
I clean uPVC tracks in most properties I visit. The method in this guide has never failed, even on tracks that haven’t been cleaned in years.
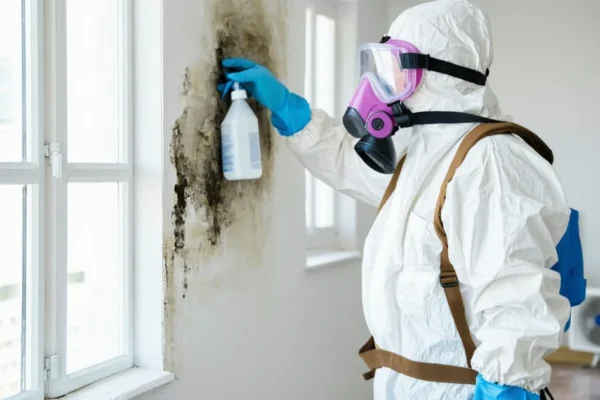
How to Clean Mouldy Window Tracks
Mould in window tracks is incredibly common in UK homes, especially in bathrooms and kitchens. Here’s how I deal with it:
Ventilate first – Open windows and doors. Mould spores become airborne when disturbed, and you don’t want to breathe them in.
Spray with undiluted vinegar – White vinegar kills about 80% of mould species. Spray it directly on the mould and let it sit for an hour.
Scrub thoroughly – Use your toothbrush to scrub away the dead mould. It should lift fairly easily after the vinegar treatment.
Dry completely – Mould needs moisture. A completely dry track won’t support mould growth.
Prevent return – Wipe tracks weekly with a vinegar-dampened cloth. Open windows daily, even in winter, to reduce condensation.
For black mould that won’t budge with vinegar, you can use diluted bleach (1 part bleach to 10 parts water), but only on non-porous surfaces like uPVC or tiles. Never on wood. Always rinse thoroughly afterward.
The Sponge Method – Does It Actually Work?
You’ve probably seen the viral cleaning hack where you cut notches in a kitchen sponge to fit the track. I’ve tested this method extensively because clients ask about it constantly.
The honest truth: It works okay for light maintenance on regularly cleaned tracks. For anything beyond surface dust, it’s pretty useless.
Why it fails: The soft sponge can’t reach into corners or lift stubborn grime. Cutting neat notches in the scratchy side (which you actually need for cleaning) is nearly impossible. The sponge compresses and just skims over dirt rather than scrubbing it away.
When it works: If you clean your tracks monthly and they never get really dirty, a notched sponge dipped in soapy water does a quick maintenance clean.
Better option: A toothbrush costs nothing, reaches everywhere, and actually works. I’ve never met a professional cleaner who uses the sponge method.
How Often Should You Clean Window Tracks?
Based on 18 years of experience, here’s my recommendation:
| Cleaning Type | Frequency | Why |
|---|---|---|
| Quick wipe | Monthly | Prevents major buildup |
| Proper clean | Every 3 months | Maintains smooth operation |
| Deep clean | Twice yearly | Spring and autumn are ideal |
| Mould check | Weekly (prone areas) | Catch problems early |
Clean more often if:
- You live near building sites or busy roads (more dust)
- You have pets (pet hair accumulates in tracks)
- Your windows get condensation regularly
- Tracks are in kitchens or bathrooms
- You notice windows sticking or difficult to open
Clean less often if:
- Your windows rarely get opened
- You have good ventilation and no condensation
- Tracks are on upper floors with less debris
I’ve found that most people never clean window tracks until windows won’t close properly. A quick 2-minute wipe monthly prevents this completely.
Cleaning Window Tracks Without a Vacuum
Don’t have a vacuum? I’ve cleaned plenty of properties without one. Here are alternatives that work:
Dustpan and brush – Use a small brush to sweep debris to one end, then scoop it out with a dustpan. Takes an extra minute but works perfectly.
Sticky tape method – Wrap wide packaging tape around your fingers, sticky side out. Press into the track to pick up dirt and debris. Replace tape as it gets dirty.
Compressed air – A can of compressed air (about £3 from Argos) blows debris out brilliantly. Hold a cloth at the far end to catch what comes out.
Damp cloth first pass – Wipe the track with a slightly damp cloth to collect loose debris before applying cleaning solution. Not as thorough as vacuuming but better than nothing.
Honestly, the vacuum is worth it for the time it saves. But I’ve cleaned hundreds of windows without one when working in properties between lets.
Pro Tips From 18 Years of Professional Cleaning
Insider Knowledge
After cleaning thousands of window tracks across the UK, here’s what actually makes a difference:
- Clean on a sunny day – Tracks dry faster, and you can see dirt more clearly in good light. I schedule window cleaning for sunny mornings when possible.
- Address condensation – If tracks get wet from condensation, wipe them dry daily. This single habit prevents 90% of mould problems I see.
- Keep a detail kit – I keep a small container with a toothbrush, cotton buds, and a microfibre cloth by the window. Quick monthly wipes take 2 minutes and prevent major jobs.
- Lubricate after deep cleaning – Windows that glide smoothly get opened more often, which improves ventilation and reduces condensation. It’s a positive cycle.
- Check weep holes – These tiny drainage holes are easy to miss but critical. A blocked weep hole means water pools in the track, causing rust, mould, and rot.
What to Do About Sliding Patio Doors
Sliding patio door tracks are window tracks on steroids. They’re at floor level, so they collect more debris. They’re larger, so there’s more to clean. And they get heavy use.
The method is identical to regular window tracks, but you’ll need:
- More patience (larger area to cover)
- Extra attention to corners where dirt compacts
- Cleaning and lubricating the door rollers if accessible
- Checking drainage holes are completely clear
I usually find leaves, pet hair, bits of gravel, and an astonishing amount of dust in patio door tracks. A proper clean transforms how smoothly the door slides.
Expect to spend 15-20 minutes on a patio door versus 5 minutes on a standard window.
Conclusion
Cleaning window tracks isn’t glamorous, but it makes a real difference to how your windows operate and how your home looks. The vinegar and bicarbonate of soda method I’ve shared works on every type of window track, costs less than £2, and takes about 5 minutes per window.
If you clean your tracks every few months, they’ll never get bad enough to need serious effort. And if you invest in a handheld steam cleaner, you’ll cut even that time in half.
Clean tracks mean windows that open smoothly, better ventilation, and no mould. That’s worth five minutes every few months.
Frequently Asked Questions
How often should I clean my window tracks?
Clean window tracks every 3 months for most UK homes. If your windows are in kitchens or bathrooms where condensation occurs, clean monthly to prevent mould. In dusty areas or near busy roads, monthly cleaning prevents heavy buildup.
What's the best way to clean window tracks?
The best method combines vacuuming loose debris, then applying bicarbonate of soda and vinegar to lift grime, followed by scrubbing with a toothbrush and thorough rinsing. For professional results in less time, use a handheld steam cleaner which melts dirt without chemicals.
Can you clean window tracks without a vacuum?
Yes, absolutely. Use a small dustpan and brush to sweep debris out, wrap sticky tape around your fingers to pick up dirt, or use a damp cloth for the first pass. A vacuum saves time but isn’t essential for effective cleaning.
How do I clean mouldy window tracks?
Spray undiluted white vinegar on mouldy tracks and let it sit for an hour. Scrub with a toothbrush to remove dead mould, then dry completely. For stubborn black mould, use diluted bleach (1 part bleach to 10 parts water) on non-porous surfaces only. Always ventilate well.
Does the sponge cutting method work for window tracks?
The viral sponge method works only for light maintenance cleaning on regularly cleaned tracks. It struggles with corners, stubborn grime, and creating neat notches in the scratchy side. An old toothbrush is more effective and costs nothing.
How do I clean uPVC window tracks?
uPVC tracks clean beautifully with white vinegar and bicarbonate of soda. Vacuum first, apply bicarb then vinegar, let it fizz for 10 minutes, scrub with a toothbrush, rinse with a damp cloth, and dry thoroughly. Avoid abrasive cleaners that can scratch or dull the surface.
Should I lubricate window tracks after cleaning?
Yes, light lubrication with silicone spray helps windows glide smoothly and actually repels dust. Apply sparingly after tracks are completely dry, wipe away excess, then open and close windows several times to distribute evenly. Don’t over-lubricate as it attracts dirt.
What kills mould in window tracks naturally?
White vinegar kills approximately 80% of mould species naturally. Spray undiluted vinegar on mould, leave for an hour, then scrub and dry thoroughly. The key to preventing mould return is keeping tracks dry and improving ventilation by opening windows daily.
How do I clean aluminium window tracks?
Use the same vinegar and bicarbonate of soda method as uPVC tracks. For white oxidation on aluminium, make a paste of bicarb and water, apply for 15 minutes, then scrub gently. Avoid harsh alkalis or acids that can pit aluminium over time.
Why do my window tracks get dirty so quickly?
Window tracks collect airborne dust, pollen, dead insects, and outdoor debris. Condensation makes dirt stick and promotes mould growth. In kitchens, grease particles settle in tracks. Regular monthly wiping prevents buildup. If tracks are always wet, improve ventilation to reduce condensation.
You May Also Like
How to Clean Shower Tiles: Complete Guide for 2026
How to Clean Shower Mold: Complete Removal Guide 2026