How to Clean a Stainless Steel Sink Without Scratching It
How to clean a stainless steel sink properly is something I get asked about constantly in my 18 years as a professional cleaner. Everyone loves the look of a gleaming stainless steel sink, but most people are terrified of scratching it. I’ve cleaned hundreds of these sinks across the UK, from budget rentals to luxury kitchens, and I’m here to tell you scratches aren’t the enemy you think they are.
In this guide, I’ll show you exactly how to clean your stainless steel sink without causing damage, how to tackle stubborn stains and limescale (especially if you’re in a hard water area), and how to restore that brilliant shine. This method takes about 5 minutes for a daily clean and uses products you probably already own.
Here’s what you’ll learn: the safest daily cleaning routine, how to remove tough stains without scratching, why some scratches actually improve your sink over time, and the products I personally use in client homes versus the expensive ones you don’t need.
Quick Summary
Time needed: 5 minutes (daily), 15 minutes (deep clean)
Difficulty: Easy
You’ll need: Washing up liquid, bicarbonate of soda, white vinegar, microfibre cloth
Key takeaway: Clean with the grain, never use wire wool, and accept that light scratches are normal and will fade
What You'll Need
For daily cleaning:
- Washing up liquid (any brand works)
- Warm water
- Microfibre cloths (at least 2)
- Soft sponge (non-scratch side only)
For deep cleaning and stain removal:
- Bicarbonate of soda (under £1 from any supermarket)
- White vinegar (about 50p)
- Lemon (optional, for extra shine)
- Olive oil or baby oil (for polishing)
For tough stains:
- Bar Keeper’s Friend (about £3.50 from Wilko or B&M)
- The Pink Stuff (£1 from Poundland or Home Bargains)
How to Clean a Stainless Steel Sink – Step-by-Step
Step 1 – Clear and Rinse
Remove everything from your sink, including the washing up bowl if you use one. Give the sink a quick rinse with warm water to remove any loose food particles and debris.
This step matters more than you’d think. Grit and crumbs left in the sink will scratch the surface when you start cleaning. Always clear first.
Step 2 – Identify the Grain Direction
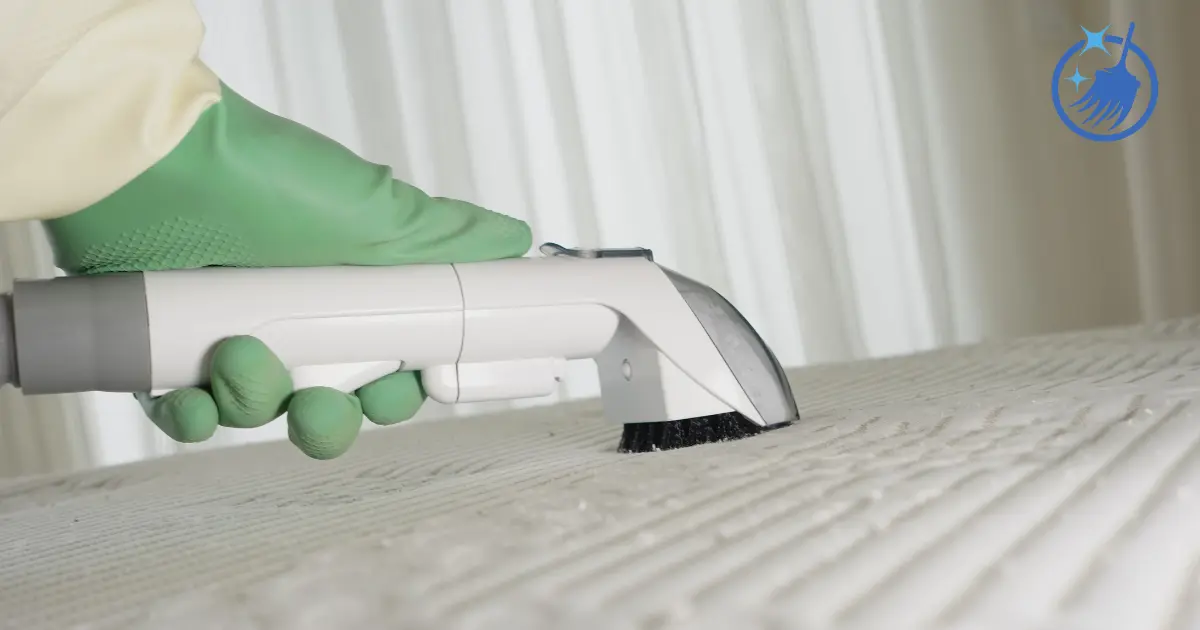
Look at your sink from an angle. You’ll see lines running in one direction across the steel. This is the grain. You must always clean in the direction of these lines, never in circles.
Cleaning against the grain or in circular motions causes permanent surface changes that dull the finish. This is the single most important technique for avoiding visible scratches.
Step 3 – Apply Washing Up Liquid
Put a small amount of washing up liquid on the soft side of your sponge. Work it across the sink surface following the grain direction. Cover the entire bowl, the draining board, and around the taps.
For daily cleaning, this is often all you need. The key is doing it regularly so dirt never builds up.
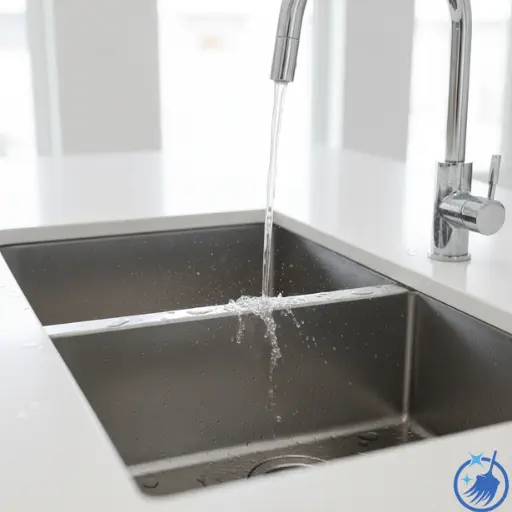
Step 4 – Rinse Thoroughly
Rinse away all the soap with clean water. Any residue left behind will dry into water marks and dull the finish.
This is especially important if you’re in a hard water area. Soap scum combined with minerals creates that cloudy film everyone complains about.
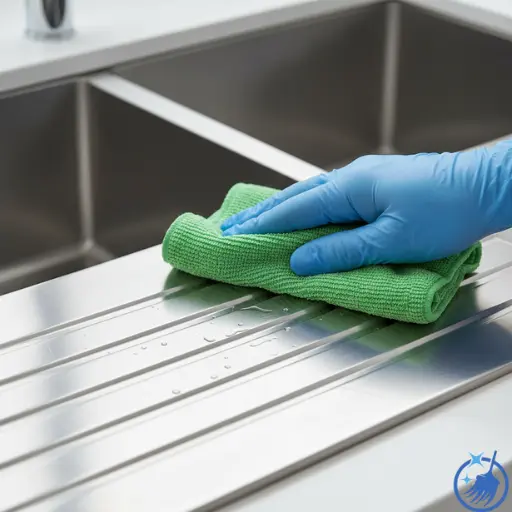
Step 5 – Dry Completely
Use a clean, dry microfibre cloth to dry the entire sink. Buff gently in the direction of the grain.
This step prevents water spots and limescale buildup. In hard water areas, this single habit will keep your sink looking brilliant between deep cleans.
Deep Cleaning for Stains and Dullness
When your sink needs more than a quick wash, here’s what I do in client homes:
The Bicarbonate of Soda Method
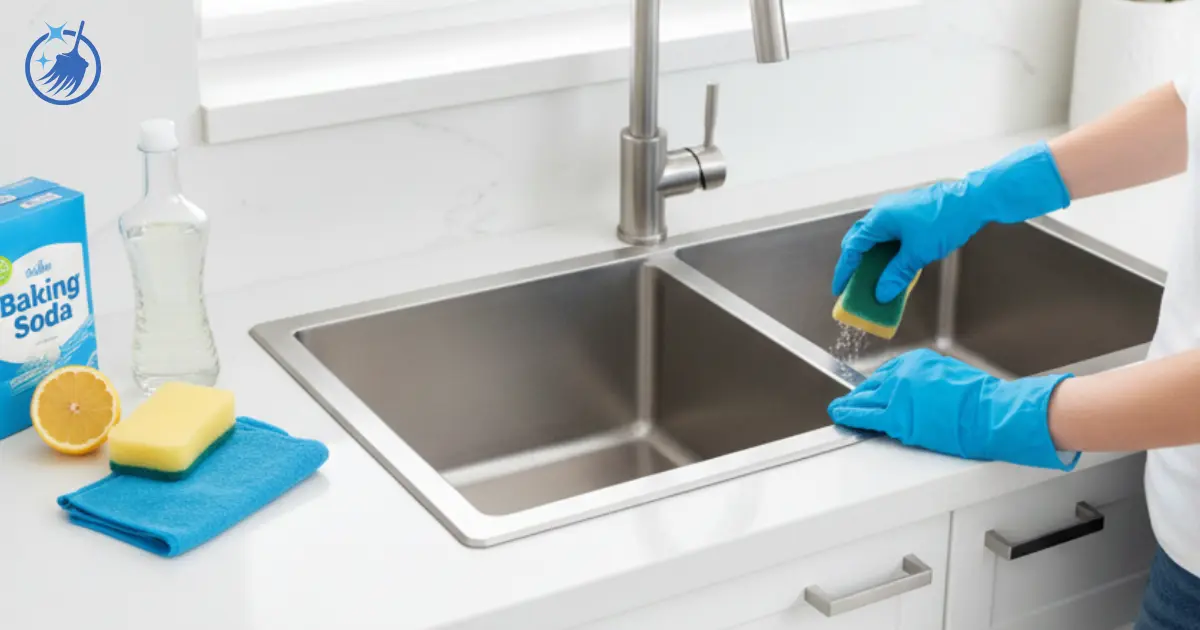
Sprinkle bicarbonate of soda liberally across the damp sink surface. It should look like you’ve dusted it with snow. Add a few drops of water to create a paste, then scrub gently with a soft cloth following the grain.
For extra cleaning power, spray white vinegar over the bicarbonate. It’ll fizz and foam beautifully. This combination lifts stains and cuts through grease brilliantly.
Leave it for 5-10 minutes, then scrub again gently. Rinse thoroughly and dry completely.
For Stubborn Water Marks and Limescale
If you’re in a hard water area (most of southern England, parts of the Midlands), you’ll battle limescale constantly. Here’s what actually works:
Soak a cloth in white vinegar and lay it across the affected areas. Leave for 15-20 minutes. The acid in the vinegar dissolves the mineral deposits.
Remove the cloth, scrub gently with bicarbonate of soda paste, rinse, and dry. The combination of acid (vinegar) followed by gentle abrasive (bicarb) shifts even stubborn buildup.
How to Remove Specific Stains
Tea and Coffee Stains
Make a paste of bicarbonate of soda and a tiny bit of water. Apply to the stain, leave for 5 minutes, then scrub gently following the grain. These stains lift easily with this method.
Rust Spots
Rust spots on stainless steel come from other metal items left in the sink, not from the sink itself rusting. Use Bar Keeper’s Friend following packet instructions. This product is brilliant for rust and is what professionals use.
Apply daily for 7-10 days for stubborn rust, then maintain with regular cleaning.
Paint Splatter
If you’ve been decorating and got paint in your sink, don’t panic. For water-based paint, soak with warm soapy water for 30 minutes, then gently scrape with a plastic scraper or old credit card.
For dried emulsion, try white spirit on a cloth (test in a small area first). Always work gently and follow the grain.
Hard Water Stains and Mineral Deposits
The white, cloudy film that builds up in hard water areas responds best to acidic cleaners. Use either white vinegar or lemon juice.
Cut a lemon in half, dip it in bicarbonate of soda, and scrub the sink. This is particularly effective and smells lovely. Rinse well and dry thoroughly.
Common Mistakes to Avoid
1. Using wire wool or metal scourers – This is the fastest way to ruin your sink. Wire wool leaves tiny metal fragments embedded in the surface that rust and cause brown stains. Always use soft cloths or non-scratch sponges.
2. Cleaning in circular motions – Circular scrubbing changes the surface texture and creates dull patches. Always follow the grain direction.
3. Using plastic washing up bowls – Grit gets trapped under the bowl and scratches the sink base heavily. If you must use one, lift and clean under it daily.
4. Leaving wet cloths or steel wool pads in the sink – These create rust spots and water marks. Remove them immediately after use.
5. Using bleach regularly – Whilst bleach won’t immediately damage stainless steel, the chlorine can attack the chromium oxide film over time, causing pitting. Use it sparingly, if at all.
6. Expecting a scratch-free sink – This is the biggest mistake. Light scratching is absolutely normal and your sink will develop an attractive patina over time that actually hides scratches.
How Often Should You Clean Your Stainless Steel Sink?
Based on 18 years in hundreds of UK homes, here’s my recommendation:
| Cleaning Task | Frequency | Why |
|---|---|---|
| Quick rinse and dry | After each use | Prevents water marks and buildup |
| Proper clean with soap | Daily | Maintains hygiene and shine |
| Deep clean with bicarb | Weekly | Removes developing stains |
| Descaling (hard water areas) | Fortnightly | Prevents limescale buildup |
| Polish and restore shine | Monthly | Maintains protective layer |
If you’re in a hard water area, increase descaling to weekly. If your sink is lightly used (maybe in a utility room), weekly cleaning is fine.
How to Restore Shine to a Dull Stainless Steel Sink
After you’ve cleaned your sink thoroughly, restore the brilliant shine with one of these methods:
Olive Oil Method
Apply a few drops of olive oil to a soft cloth. Buff it across the sink surface in the direction of the grain. The oil fills microscopic scratches and creates a protective barrier that repels water.
Wipe away any excess with a clean cloth. Your sink will look showroom-new.
Flour Method
This sounds odd, but it works brilliantly. Sprinkle a few tablespoons of plain flour across your dry, clean sink. Use a soft cloth to buff it in, following the grain.
The flour absorbs any remaining moisture and oils, leaving an incredible shine. Rinse lightly and dry.
Baby Oil Method
Works exactly like olive oil but costs less and doesn’t smell. A few drops on kitchen roll, buffed gently across the surface, creates fantastic shine.
My Shine Routine
After testing every method over 18 years, here’s what I actually use in client homes:
- Clean thoroughly with washing up liquid
- Remove any stains with bicarbonate and vinegar
- Rinse and dry completely
- Apply 3-4 drops of olive oil on a soft cloth
- Buff gently following the grain
- Wipe away excess with clean cloth
This creates a shine that lasts days, not hours.
The Truth About Scratches on Stainless Steel Sinks
Let me be completely honest with you about something that worries people unnecessarily.
Your stainless steel sink will get scratched. It’s not a question of if, but when. I see clients stress about this constantly, buying expensive “scratch-free” cleaning products that don’t actually prevent scratches.
Here’s what actually happens: Light surface scratches are completely normal. They occur from daily use, even when you’re being careful. Over time, these scratches even out and the sink develops what’s called a patina – an attractive, lived-in finish that actually hides new scratches better than a pristine surface would.
After a year or two of use, a properly maintained stainless steel sink often looks better than new because the patina has developed and small scratches have blended together.
What you should avoid are deep gouges from metal scouring pads or dragging heavy pots across the surface. These don’t fade. But the hairline scratches from normal cleaning and use? They’re fine. They’re part of owning stainless steel.
Best Products for Cleaning Stainless Steel Sinks
After testing products in hundreds of homes, here’s what actually works:
Budget option (under £2): Bicarbonate of soda and white vinegar. This combination handles 90% of cleaning jobs brilliantly and costs pennies. Available everywhere.
Mid-range option (£1-3): The Pink Stuff paste from Poundland or Home Bargains. Gentle enough not to scratch, effective on stubborn stains. I keep this in my cleaning kit.
For tough stains (£3-4): Bar Keeper’s Friend from Wilko, B&M, or Amazon. This is what professionals use for rust spots and heavy staining. Works faster than natural products but use sparingly.
For daily cleaning: Astonish Stainless Steel Cleaner (about £1 from Poundland) or simply use your regular washing up liquid. Fairy, Ecover, or own-brand all work fine.
What I don’t recommend: Expensive specialty stainless steel cleaners costing £8-10. I’ve tested them all. They work no better than bicarb and vinegar, and sometimes contain harsh chemicals that can dull the finish over time.
Preventing Damage and Maintaining Your Sink
Prevention beats cure every time. Here’s how to keep your sink looking brilliant with minimal effort:
Always rinse and dry after use – This single habit prevents 90% of problems. Water left to air-dry causes spots and limescale. Takes 30 seconds with a tea towel.
Remove tea bags and coffee immediately – These stain quickly if left sitting. A quick rinse after your morning cuppa prevents brown marks.
Don’t leave acidic foods in contact with the sink – Lemon juice, vinegar-based dressings, tomato sauce, and pickles can cause pitting if left for hours. Rinse them away promptly.
Place a sink mat or grid if you’re washing heavy pots – This prevents scratches from dragging cookware across the base. But clean under it regularly.
Wipe taps and the area around them daily – This is where limescale builds up fastest in hard water areas. A quick wipe with a vinegar-dampened cloth keeps it at bay.
Different Finishes Need Different Care
Not all stainless steel sinks are the same. The finish affects how you should clean them:
Brushed finish (most common in UK homes): Always clean in the direction of the brush lines. These show scratches more than other finishes but develop the best patina over time.
Polished/Mirror finish: More prone to showing fingerprints and water spots. Needs more frequent drying. Clean gently as vigorous scrubbing can change the level of gloss.
Satin matt finish: The easiest to maintain. Doesn’t show water spots as obviously. Still clean following the grain, but these are more forgiving.
Textured finishes (linen-look or hammered): Brilliant for hiding scratches and water marks. Can use slightly more aggressive cleaning as the texture hides wear. Still avoid wire wool.
Most UK sinks are brushed finish. If you’re unsure what you have, look at your sink from an angle. You’ll see the finish pattern.
When to Call a Professional
I’m all for DIY cleaning, but there are times when professional help is worth it:
Deep scratches that won’t blend – A professional can polish these out with specialized equipment.
Persistent rust that won’t shift – If Bar Keeper’s Friend hasn’t worked after 10 days of daily use, the rust may be more serious.
Complete loss of shine that won’t restore – Sometimes sinks need professional refinishing, especially if they’ve been damaged by harsh chemicals.
Pitting or corrosion – This indicates damage to the protective chromium layer and needs expert assessment.
For most issues though, the methods in this guide will handle them. I’ve brought back sinks that looked beyond hope with just bicarbonate of soda and elbow grease.
Having said that, if you’re looking for professional cleaning services for your entire kitchen, including your sink, consider reaching out to local cleaning companies. Sometimes a deep clean of the whole kitchen, including other appliances like your dishwasher, makes more sense than tackling each item individually.
Pro Tips From 18 Years of Professional Cleaning
Insider Tips
After cleaning thousands of stainless steel sinks, here’s what I’ve learned:
- The grain changes direction – On sinks with draining boards, the grain often runs differently on the drainer versus the bowl. Check carefully and adjust your cleaning direction.
- Vinegar and bicarb work better separately – Despite what you see online, the fizzing reaction isn’t the cleaning bit. Use vinegar first for acid cleaning, rinse, then use bicarb as a gentle abrasive for best results.
- Tea stains come off faster with hot water – Soak tea-stained areas with boiling water from the kettle for 2 minutes before cleaning. The tannins lift much more easily.
- New sinks scratch more visibly – Don’t panic about this. The protective oil from manufacturing takes a few weeks to wear off. Once it’s gone, scratches blend better.
- Hard water limescale responds to consistency – A daily 30-second wipe with diluted vinegar beats a monthly deep clean. Little and often wins.
Keeping Your Sink Clean Isn't Complicated
The secret to a brilliant stainless steel sink isn’t expensive products or complicated techniques. It’s simply developing the habit of a quick rinse and dry after each use, a proper clean daily, and tackling stains as soon as you notice them.
I’ve maintained hundreds of these sinks across the UK, from student flats in Manchester to luxury homes in Surrey. The sinks that look best aren’t necessarily in the expensive homes – they’re in the homes where someone takes 2 minutes a day to care for them properly. Whether you’re dealing with stubborn stains on other stainless steel items or keeping your kitchen spotless, the principle is the same: regular maintenance beats occasional deep cleaning every time.
Your stainless steel sink will develop scratches. That’s normal and nothing to worry about. Follow the grain when you clean, avoid wire wool and harsh chemicals, and embrace the natural patina that develops over time. You’ll have a sink that not only looks great but actually gets better with age.
Frequently Asked Questions
How do you clean a stainless steel sink without scratching it?
Clean in the direction of the grain using soft cloths or non-scratch sponges with washing up liquid or bicarbonate of soda. Never use wire wool, metal scourers, or clean in circular motions. Light scratches are normal and will blend over time as the sink develops a natural patina.
How often should I clean my stainless steel sink?
Rinse and dry your sink after each use to prevent water marks. Do a proper clean with washing up liquid daily. Deep clean with bicarbonate of soda weekly, and descale fortnightly if you’re in a hard water area. This routine keeps your sink brilliant with minimal effort.
What is the best thing to clean a stainless steel sink with?
Bicarbonate of soda and white vinegar work brilliantly for 90% of cleaning jobs and cost under £1.50 total. For daily cleaning, regular washing up liquid is perfect. For tough stains, Bar Keeper’s Friend (£3-4 from Wilko or B&M) is what professionals use.
How do I remove hard water stains from my stainless steel sink?
Soak a cloth in white vinegar and lay it across the stained areas for 15-20 minutes. The acid dissolves mineral deposits. Remove the cloth, scrub gently with bicarbonate of soda paste following the grain, rinse thoroughly, and dry completely. For prevention, wipe the sink dry after each use.
Can I use bleach on my stainless steel sink?
Whilst bleach won’t immediately damage stainless steel, the chlorine can attack the protective chromium oxide layer over time, potentially causing pitting and discolouration. Use it sparingly if at all. White vinegar works just as well for disinfecting and won’t damage your sink.
How do I make my dull stainless steel sink shine again?
After cleaning thoroughly, apply a few drops of olive oil or baby oil to a soft cloth and buff across the sink following the grain direction. The oil fills microscopic scratches and creates a protective barrier. Wipe away excess with a clean cloth for brilliant shine.
Why does my stainless steel sink have rust spots?
Rust spots come from other metal items left in the sink (steel wool pads, tin cans, utensils), not from the sink itself rusting. Remove them with Bar Keeper’s Friend applied daily for 7-10 days. Prevent them by removing wet steel items immediately and keeping the sink dry.
How do I clean tea stains from my stainless steel sink?
Make a paste of bicarbonate of soda with a small amount of water. Apply to the stain, leave for 5 minutes, then scrub gently following the grain. For stubborn stains, soak the area with boiling water for 2 minutes first – this loosens tannins and makes cleaning easier.
Is it normal for stainless steel sinks to scratch easily?
Yes, completely normal. Light surface scratches occur from daily use even with careful handling. These scratches actually even out over time as the sink develops a patina, and older sinks often look better than new ones because scratches blend together. Avoid deep gouges from metal scourers, but don’t worry about hairline scratches.
How do I remove limescale from my stainless steel sink?
For built-up limescale, lay a cloth soaked in white vinegar across the affected area for 15-20 minutes. The acid dissolves mineral deposits. Scrub gently with a soft brush following the grain, rinse, and dry. Prevent limescale by wiping the sink dry after each use, especially in hard water areas.
You May Also Like
How to Clean Leather Couch: Complete Care Guide 2026
How to Clean Microfiber Couch: Complete Care Guide 2026