Pine looks simple, but the right way to clean pine furniture depends on one thing you cannot see from across the room: the finish. A varnished dresser can take a damp cloth. A waxed farmhouse table cannot take soap and water. A piece of raw pine will drink up almost any liquid you put on it. Get the finish wrong and you end up with water marks, a stripped wax layer or lifted grain. Get it right and cleaning pine is gentle and quick.
The table below compares the three main finishes side by side. After it you will find a section on each, a stain guide, how to revive old or orange pine, and how to prepare pine for wax or paint. Pine is a soft wood and scratches and dents easily, so in every case, gentle beats aggressive. Whenever you try a new product or method, test it on a hidden area such as the back of a leg or the underside of a shelf, and wait until it is dry before judging the result.
Disclosure: Cleaners Guide is a participant in the Amazon Associates programme, so if you buy through links on this page we may earn a small commission at no extra cost to you. It never changes our recommendations, we suggest products because they work and we point out cheaper options where they do the same job. Prices and availability change, so always check the current price before buying.
The water-drop test, then three finishes compared
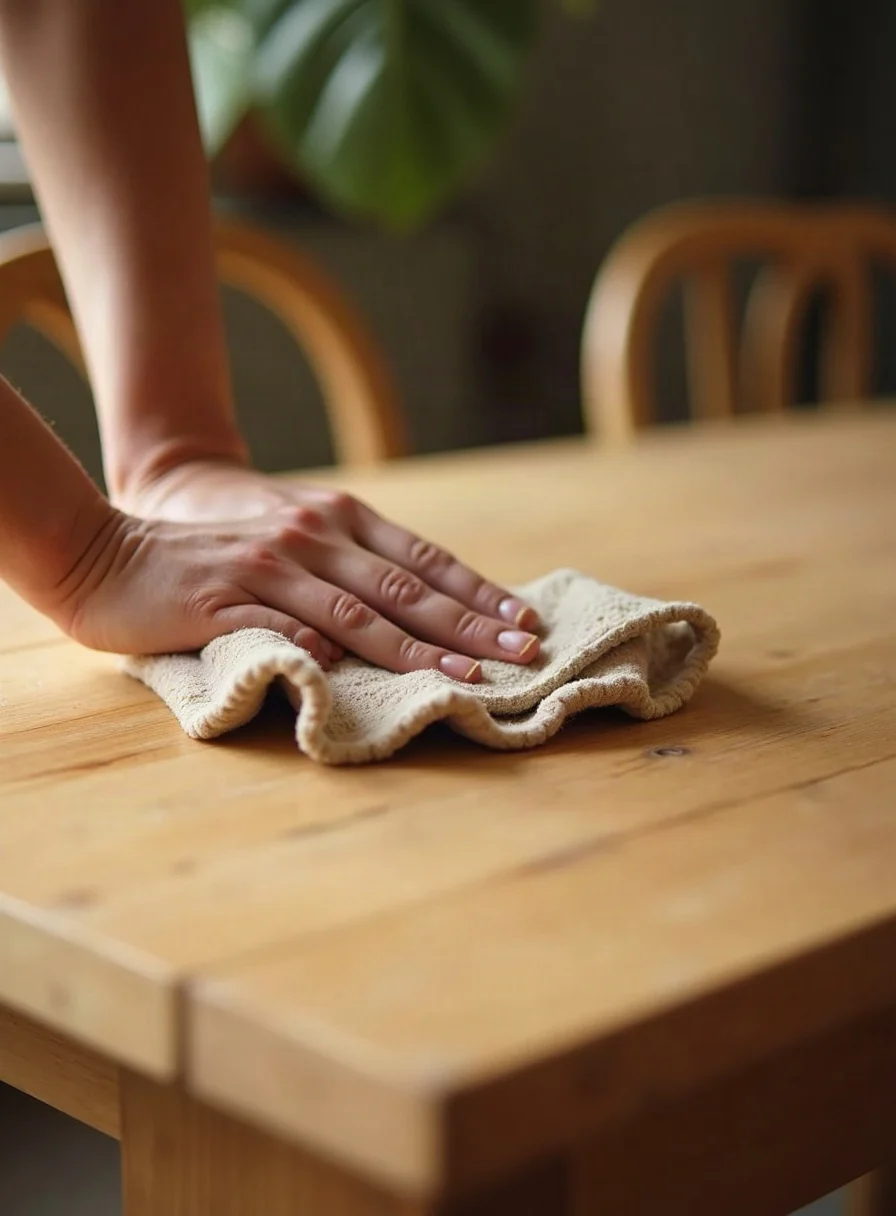
Before you clean anything, do the water-drop test on a hidden spot, such as the back or underside. Put a small drop of water on the wood and wait a minute. If it beads, the pine is sealed (varnish, lacquer or good wax) and can take a damp cloth. If it soaks in and darkens the wood, the pine is untreated or worn and needs to be kept as dry as possible. If you honestly cannot tell, treat it as waxed or untreated, which is the more cautious assumption.
| Finish | How to recognise it | Best method | Effort | Risk if you get it wrong |
|---|---|---|---|---|
| Varnished or lacquered | Hard, smooth, glossy or satin. Water beads | Dust, then wipe with a barely damp cloth and a drop of washing-up liquid, and dry at once | Low | Low to moderate. Water can creep into cracks in the varnish |
| Waxed | Softer, natural sheen you can feel. Common on antique, farmhouse, Mexican and rustic pieces | Dust, wipe with a slightly damp cloth if needed, and re-wax every few months. No soap | Low, but needs regular waxing | High. Soap and water strip and cloud the wax |
| Untreated or unfinished | Raw, matte, slightly rough. Water soaks in at once | Dust and vacuum, spot-treat with minimal moisture, or sand out marks | Moderate | High. Stains, raised grain and water marks |
Varnished and lacquered pine: the easy one
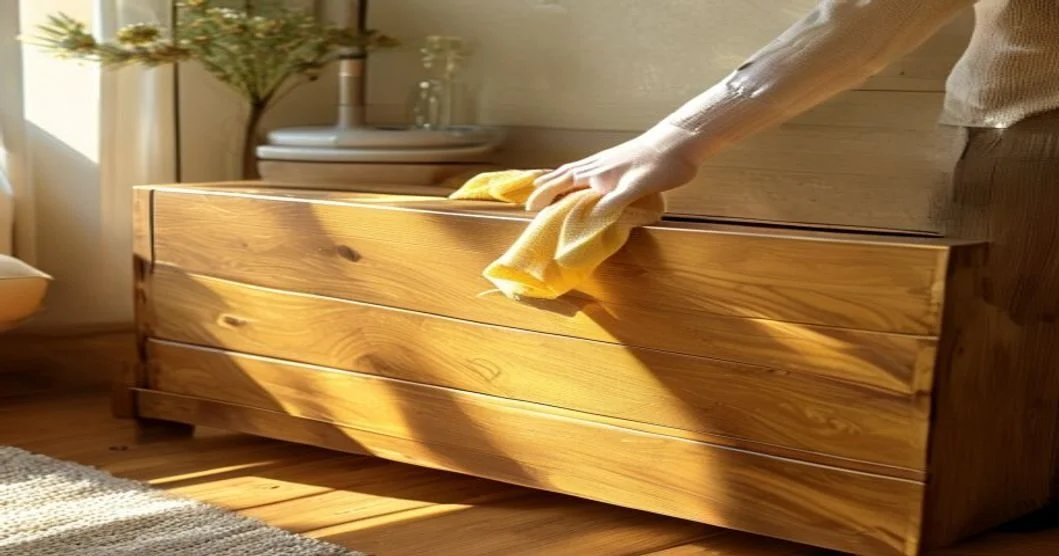
Sealed pine is the most forgiving, because the finish keeps moisture away from the wood. This is the everyday routine for most modern pine dressers, tables and wardrobes.
- Dust regularly with a dry microfibre cloth, following the grain.
- Wipe with a barely damp cloth. For grubby areas, add a tiny amount of mild washing-up liquid to warm water and wring the cloth out until it is damp, not wet.
- Dry immediately with a clean cloth. Even on sealed pine, do not let water sit, because it can creep into any tiny crack in the varnish and mark the wood beneath.
- Buff and, now and then, use a furniture polish suited to sealed wood if you like the sheen. Avoid silicone-heavy sprays that build up over time.
The same low-moisture approach works for any sealed wood in the home. Our hardwood floor guide uses the same logic on a larger scale, and the kitchen worktop guide is useful if your pine is a worktop or table in a food area.
Waxed pine, including Mexican and rustic pieces
See beeswax polish on Amazon →
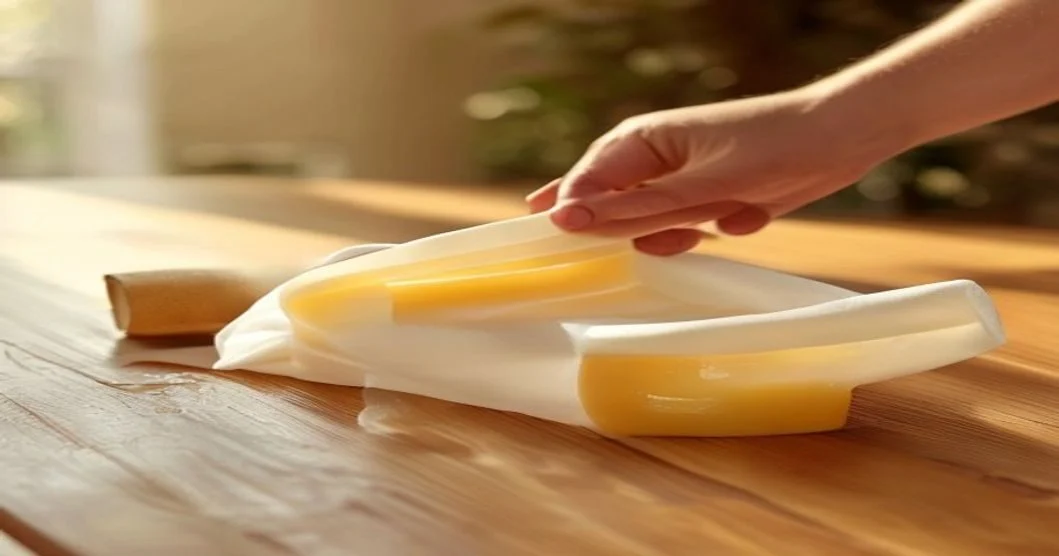
Waxed pine needs a different mindset: keep soap and water away from it. They strip and cloud the wax, leave dull patches and let moisture reach the wood. Mexican pine (chunky dressers and sideboards) and rustic pine are usually waxed, so the same rules apply. Their heavy grain and knots trap dust, so a soft brush or a vacuum brush attachment helps get into the texture. If a Mexican pine piece turns out to be hard-sealed, use the varnished method.
- Dust with a dry or slightly damp cloth, following the grain. For most waxed pine, regular dusting is all it needs.
- For grubby marks, wipe with a cloth just barely dampened with water (no soap) and dry at once, or use a wax-and-clean product made for waxed wood.
- Re-wax every few months, or when the surface looks dry and dull, with a furniture wax or beeswax polish. Apply a thin coat with a soft cloth along the grain, leave it to haze, then buff to a warm sheen.
When in doubt, dust and wax rather than wash. If the wax has turned patchy or grimy beyond dusting, white spirit on a cloth will lift it so you can re-wax, but that is a restoration job. White spirit is flammable and the fumes are unpleasant, so work in a well-ventilated room away from flames and heaters, wear gloves, test a hidden patch first, and follow the can’s safety advice for disposing of used cloths.
Untreated pine: the cautious one
Raw pine is porous and drinks up water, so any moisture risks stains, raised grain and marks. Treat it as almost dry.
- Dust and vacuum with a soft brush attachment. This is your main cleaning method.
- For marks, use a barely damp cloth on the spot and dry it instantly, or sand lightly with fine-grade sandpaper. Untreated pine can be sanded, unlike many sealed finishes.
- Never soak it or use lots of soapy water, and avoid harsh cleaners, which go straight into the open grain.
Honestly, untreated pine is happier with a finish. If you are cleaning it because it is grubby and hard to keep tidy, that is often the moment to wax or seal it, which makes future cleaning far easier.
Marks and stains: what each one needs
| Mark | What to try | Effort / risk |
|---|---|---|
| White water rings or heat marks (in the finish) | A folk fix is a little non-gel toothpaste, or toothpaste with bicarbonate of soda, on a cloth, rubbed gently, buffed off and re-waxed or polished. It is mildly abrasive, so test first and go lightly. It works on the finish, not raw wood | Low effort, moderate risk of dulling |
| Dark water stains (soaked into the wood) | These have reached the timber. Light sanding and refinishing on untreated pine, or a specialist wood stain remover on finished pieces | High effort |
| Grease and sticky residue | On sealed pine, mild soapy water then dry. On waxed pine, a wax-safe cleaner. On untreated pine, blot, and sand if needed | Low to moderate |
| Ink and pen | Dab, do not flood, with a little surgical spirit on a cloth after testing. It is flammable and can soften some finishes. On untreated pine, sanding is often the only full fix | Moderate to high risk |
| Crayon | A soft cloth with a little bicarbonate of soda paste lifts crayon from sealed pine. Gentle scraping with a plastic edge helps | Low |
| Sticker or label residue | Warm soapy cloth on sealed pine. On waxed pine, a dab of cooking oil or a dedicated adhesive remover, then re-wax | Low |
Surface marks in a varnish or wax layer come off far more easily than stains that have soaked into raw wood, which is another reason to keep pine sealed or waxed. Always test any stain treatment on a hidden area first, because pine’s softness and colour vary.
Scratches, dents and sun-faded patches
Because pine is soft, scratches and dents are part of its character, but a few fixes are worth knowing. Fine scratches in a waxed finish often disappear with a little fresh wax buffed along the grain. Shallow scratches in a varnished surface can sometimes be masked with a wax filler stick or a touch-up marker in a matching shade. Small dents in bare wood can sometimes be raised by placing a damp cloth over the spot and pressing gently with a warm, not hot, iron for a few seconds, then letting the wood dry before sanding lightly. Test this on a hidden spot first, and do not use it on varnished pine, where heat and moisture can cloud the finish. Faded or bleached areas from sunlight will not wash out. Rewaxing evens out the look, or refinishing the whole top gives the best match.
Pine in kitchens, hallways and children’s rooms
Pine tables and dressers in busy rooms collect sticky fingers, hot mugs and school bags. Wipe sticky spills as they happen with a barely damp cloth on sealed pine, or a dry cloth on waxed pine, and protect surfaces with placemats, trivets and a wipe-clean table cover for craft sessions. Use felt pads under objects that get moved around, and avoid leaving damp cloths or plant pots directly on bare or waxed pine, since the rings they leave are among the most common marks.
Old pine, antique pine and the orange problem
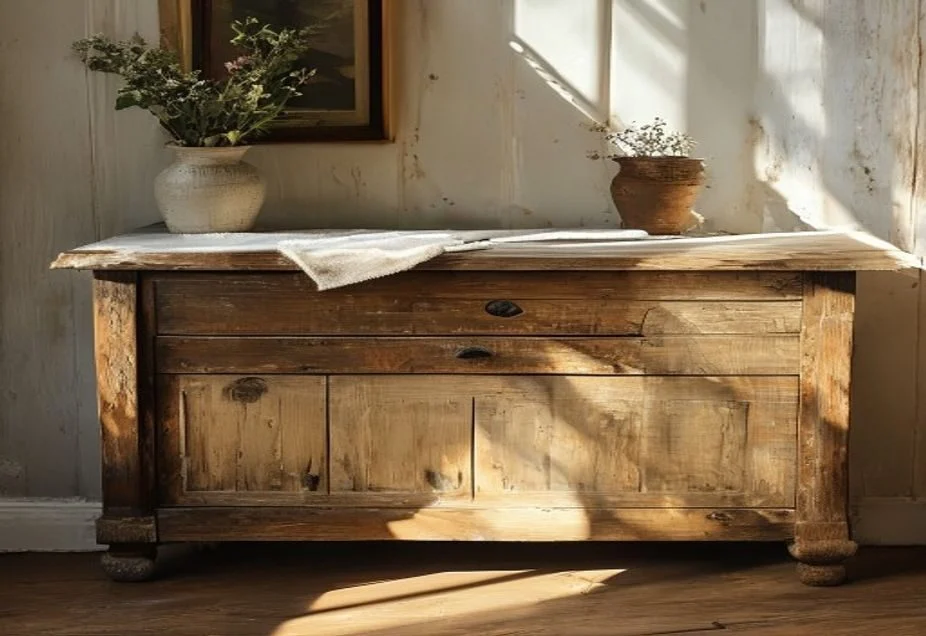
Old pine, whether a farmhouse table, a stripped Victorian piece or an inherited dresser, has usually built up a layer of grime, old wax and polish. Reviving it is gentle and rewarding.
- Dust and vacuum thoroughly, getting into carvings and mouldings with a soft brush.
- Lift old grime and wax with white spirit on a soft cloth, in a well-ventilated room and after a patch test. It works without water. Do a small area at a time and wipe away the dissolved residue.
- Let it dry, then feed the wood with a generous coat of furniture wax along the grain, left to haze and buffed to a warm glow.
- Repeat the wax if the wood is very dry. Old pine often drinks the first coat in.
Why pine goes orange: a lot of 1990s and 2000s pine has turned an unloved orange-yellow. That tone is largely ageing varnish and years of UV rather than dirt, so cleaning will not remove it. Your real options are to strip and refinish with a clear or tinted finish, or to chalk-paint it, which is popular now. If a piece is genuinely valuable or antique, gentle cleaning and waxing preserves its value, whereas stripping or painting can destroy it. Before sanding or stripping any old finish, bear in mind that paint and varnish on older furniture may contain lead, so use a lead test kit or get advice first, and keep children and pregnant women away from the work.
Preparing pine for wax or paint, side by side
Prep is about getting a clean, grease-free, dry surface so the wax or paint bonds. The two jobs differ in one important way, and getting it wrong is the most common reason a paint job peels.
| Step | If you are waxing | If you are painting |
|---|---|---|
| Old finish | Lift old wax with white spirit. Sand back old varnish if you want new wax to soak in, because wax will not penetrate a sealed surface | Remove all wax with white spirit. Even chalk paint will not stick to a waxed surface and will peel |
| Clean | Wipe dust and grease with a cloth lightly dampened with white spirit, then let it dry. Avoid water, which raises the grain right before you wax | Clean with sugar soap to cut grease, wipe with clean water and let it dry fully. Wear gloves and follow the label |
| Key and seal | Sand lightly if bare. Apply thin coats of wax along the grain, buffing between coats | Sand lightly, wipe off dust, then prime with a stain-blocking primer. Pine knots bleed resin that shows through paint otherwise |
That stain-blocking primer step is what stops yellow-brown patches appearing over the knots a few weeks after painting.
The verdict, and a checklist of kit
If you remember one thing, make it this: soap and water are for sealed pine only. Waxed pine wants dusting and wax, untreated pine wants almost no water, and only the preparation for painting justifies degreasing. A few more habits help. Dust weekly following the grain, wipe spills straight away, use coasters and mats to prevent rings and heat marks, and keep pieces out of direct sun and away from radiators, which yellow and dry the wood. Skipping wax removal before painting and skipping stain-blocking primer are the two mistakes that cause the most regret. For other furniture, see our guide to cleaning a leather couch, and for wood in the kitchen, cleaning a wooden chopping board.
You will not need all of this. Tick off only what your finish and your job require, and if you already own a decent cloth, wax or white spirit, there is no need to buy another. Prices and brands vary, so compare current options and read the label for the surface it suits.
- ☐ Microfibre cloths for dusting and buffing. Choose soft, lint-free cloths and keep separate ones for wax.
- ☐ Beeswax furniture polish for waxed pine. Look for a clear or pine-tinted wax, and test for colour first.
- ☐ Wood furniture cleaner for varnished pine. Check the label says it suits sealed wood and avoid silicone-heavy sprays.
- ☐ White spirit for lifting old wax. It is flammable, so only buy what you need and store it safely.
- ☐ Sugar soap for degreasing before painting. Wear gloves and rinse as directed. Not for waxed finishes.
- ☐ Stain-blocking or knotting primer for painting pine. Make sure it is suited to interior wood.
As an Amazon Associate we earn from qualifying purchases.
Three more pine questions
Can you clean pine with vinegar?
It is best avoided. Neat vinegar is acidic and, used often or undiluted, can dull finishes and do more harm than good on waxed or untreated pine. Mild washing-up liquid on sealed pine, or dusting and waxing on waxed pine, is safer. Our piece on whether vinegar disinfects explains its limits.
Can I use oil on pine furniture?
Some people use teak or Danish oil on bare pine to nourish it and bring out the grain, but oil soaks in, darkens the wood and cannot be painted over easily. It is not for waxed or varnished pieces. Test a hidden area, follow the product label, and let oily rags dry flat outdoors, because they can heat up and catch fire.
Why does my waxed pine feel sticky?
Usually too much wax, applied too thickly or not buffed off. Warm weather can also soften wax. Wipe with a cloth lightly dampened with white spirit to remove the excess (ventilate and test first), let it dry, then apply a thin coat and buff well.